
How Do You Clean Hearing Aids?
May 19, 2026
Hearing aids are designed to work for up to 3-7 years and can last longer with diligent cleaning and care.
New hearing aid models offer water-resistance and a tough shell to prevent damage to internal electronics. In any case, your hearing aid device must still be cleaned and serviced to work well. When you wear hearing aids for long periods, natural oils, earwax, dust, and dirt can build up in parts.
This guide covers a step-by-step process for cleaning and caring for your hearing aids, including cleaning frequency, when to consider repair, and how to ensure devices last longer.
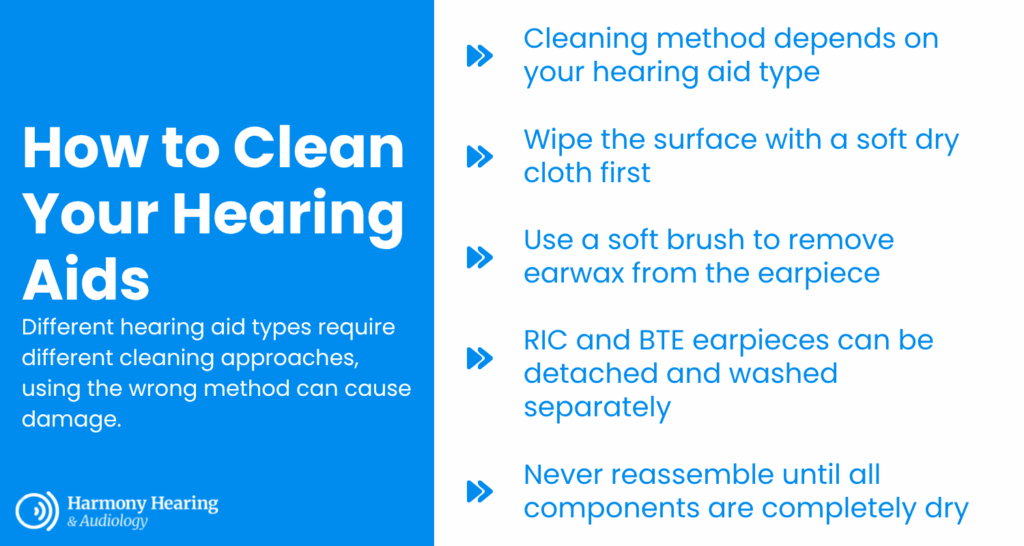
Step-by-Step Guide for Cleaning Hearing Aids
Step 1. Determine Type of Hearing Aid
Hearing aid devices need to be cleaned differently depending on the type and model.
Receiver-in-canal (RIC) and Behind-the-ear (BTE) are the two most common types of hearing aids – these devices have an earpiece that fits in the ear, a device portion that is worn over the top of the ear, and a wire or thin tube that connects the two. Generally, RIC and BTE earpieces that have no electrical components can be detached and washed separately.
There are also In-the-ear (ITE), In-the-canal (ITC), and Completely-in-canal (CIC) hearing aids, which come as a single device and have no external components. Do not wash ITE, ITC and CIC devices with water or expose them to moisture.
Step 2. Wipe The Surface
Using a soft dry cloth, gently wipe the surface of the hearing aid to get rid of oil, earwax, and dirt.
You can either use a specific cleaning cloth (that may have been included with your hearing aids) or a microfibre cloth.
Step 3. Remove Earwax
Use a small cleaning brush with soft bristles to remove earwax around and inside the earpiece.
For earwax trapped deeper inside the earpiece, use a toothpick or similar to reach and remove debris – be careful not to push earwax deeper into the earpiece.
In some cases, earwax can become trapped in the tubing that connects the earpiece and the device (for RIC and BTE). Take the tubing off from the earpiece and the hearing device, then blow through the tube to dislodge the earwax.
Brush the microphone component of the hearing aid device – keeping it clean from debris is necessary to ensure the device can clearly pick up sound.
Step 4. Clean Earpiece/Replace Filter
Remove the hearing aid earpiece or ear mould from the rest of the device. Prepare warm water with a small amount of soap into a small bowl to wash the earpiece. After rinsing off the earpiece, set it aside to dry. If the earpiece dome is still stained or feels stiff after washing, toss it and replace with a new one.
If you have an ITE, ITC, or CIC hearing aid, washing is not required. Instead, use the cleaning brush on the filter (the part that sits in the innermost part of your ear). If brushing does not remove dirt or earwax from the filter, it will need to be replaced. You will need a compatible removal tool to replace the filter of your hearing aid – check with your audiologist for assistance.
Make sure that all components of the device are dry before reassembling or putting the hearing aid back into position.
How Often Should You Clean Hearing Aids?
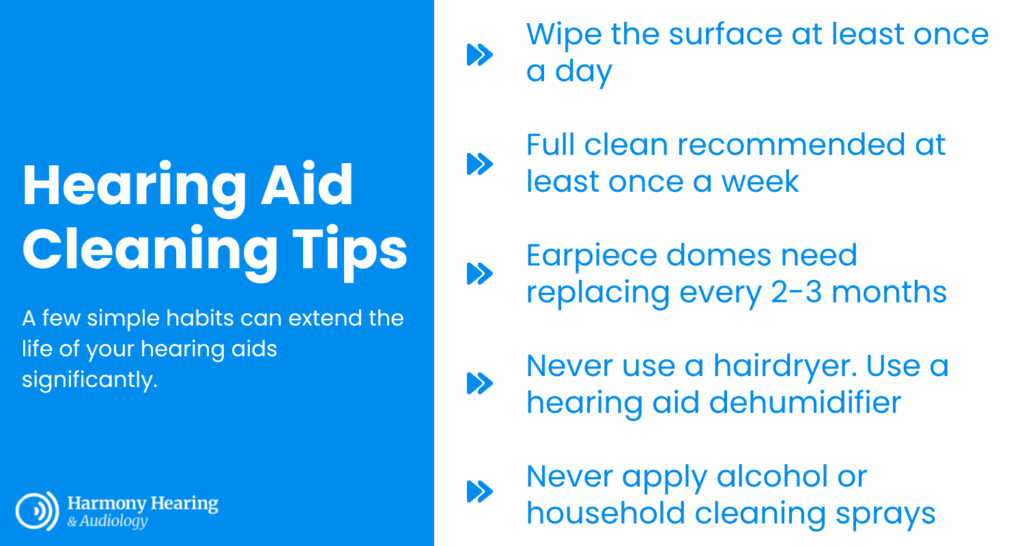
Wipe the surface of your hearing aids at least once a day – this will minimise the build-up of dust and oil and keep them in good condition. The cleaning steps above should be done at least once a week, ideally at the end of the day, to allow for complete drying.
Earpiece domes for RIC and BTE devices typically need replacement after 2-3 months.
Wax filters for ITE, ITC, or CIC devices will need to be replaced on a monthly basis.
Hearing Aid Cleaning Tips
Do Not Heat Hearing Aids
Never use a hairdryer or other heating elements to dry your hearing aids. Direct heat can destroy delicate internal components and stop hearing aids from functioning effectively.
To dry hearing aids quickly and thoroughly, use a hearing aid dehumidifier.
Check Battery During Cleaning
If your hearing aids use non-rechargeable batteries, cleaning time is a good time to check the battery level and replace them if needed. Remove the battery and wipe down the battery compartment with a dry cloth or soft brush to remove any moisture or debris.
Do Not Use Cleaning Chemicals
Never apply alcohol or household cleaning sprays when wiping hearing aids, as these can damage the delicate electronics inside. Only use water and household soap when washing the earpiece.
